MENU
In case you want to know
how I'm doing,
Deer Valley, Arizona
ZBUM's Autometer Gauge Installation
Click any image to enlarge.
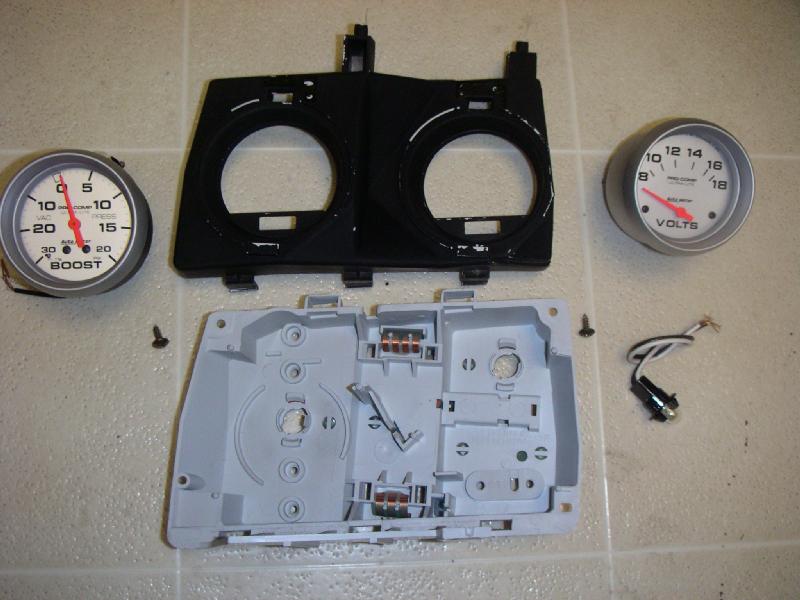
This is a page to help explain how I installed the Autometer Ultra-Lite gauges into my 1984 300ZX. After deciding to swap the problematic digital instruments in favor of the analog instrumentation, I realized I'd need more gauges to pick up the slack. I'd long ago decided I like the gauges I have in my NA. All the important information was available. And because I was getting the reverse indiglo gauges that were silver background with blue lighting, the Ultra-Lites fit the bill perfectly.
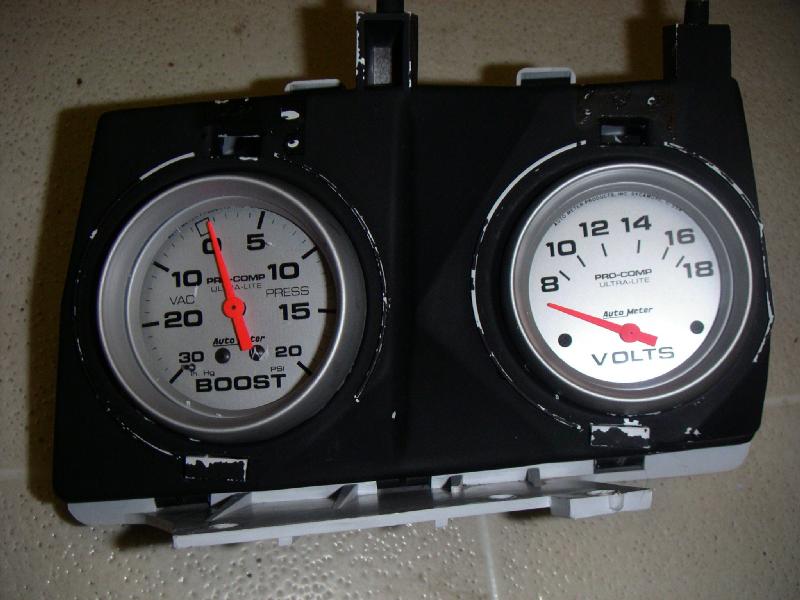
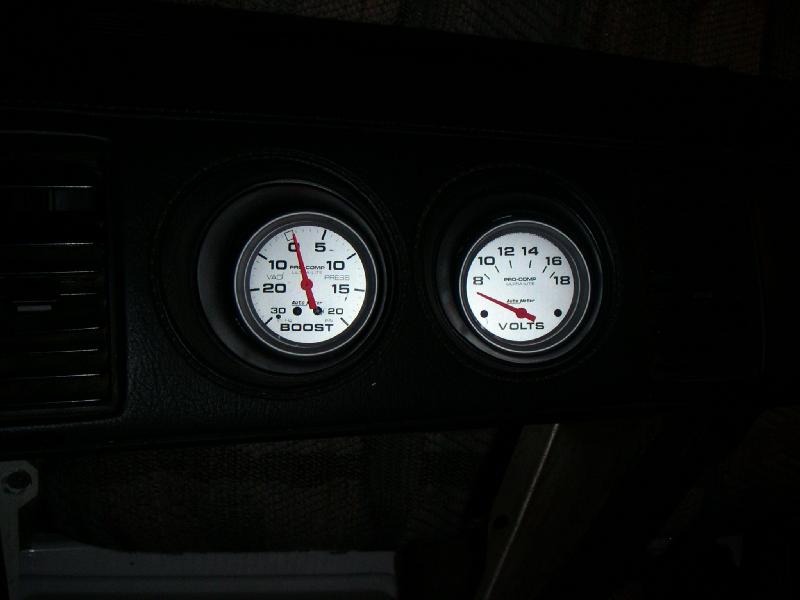
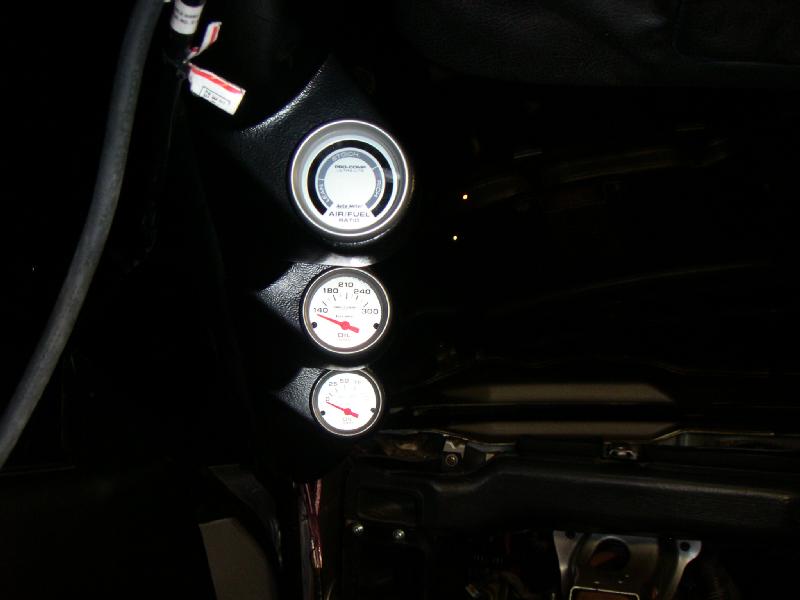
I opted to put the bigger boost and voltmeter gauges in the center pods to replace the digital's accelerometer and compass. Why? Because that's where I'm used to seeing the voltmeter, and that's also where Nissan put the original boost gauge. I opted to put the oil pressure and oil temperature gauges in the pillar using a Lo-Tek triple gauge pillar pod. I also wanted the fuel pressure, but I wasn't about to spend $200 for a full sweeping ful pressure gauge. At least not yet. And Autometer should be bringing a more affordable non-full sweeping gauge out in the next year. For now, I'll be using an air/fuel meter in it's place.
The center pod gauges are 2-5/8" diameter gauges.
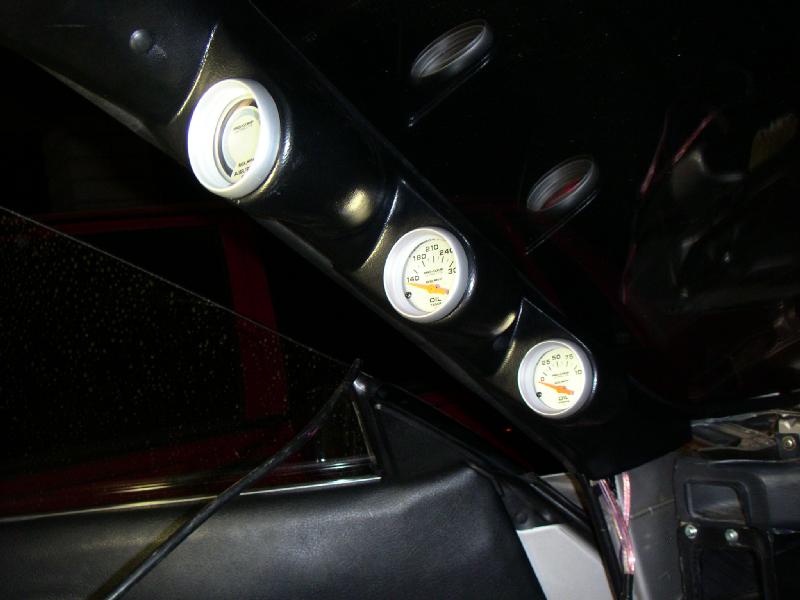
The pillar pod gauges are 2-1/16" diameter gauges.
Retrofitting the new gauges to the center pods
First, I got a hold of a spare center pod gauge unless you don't mind cutting up your current pod.
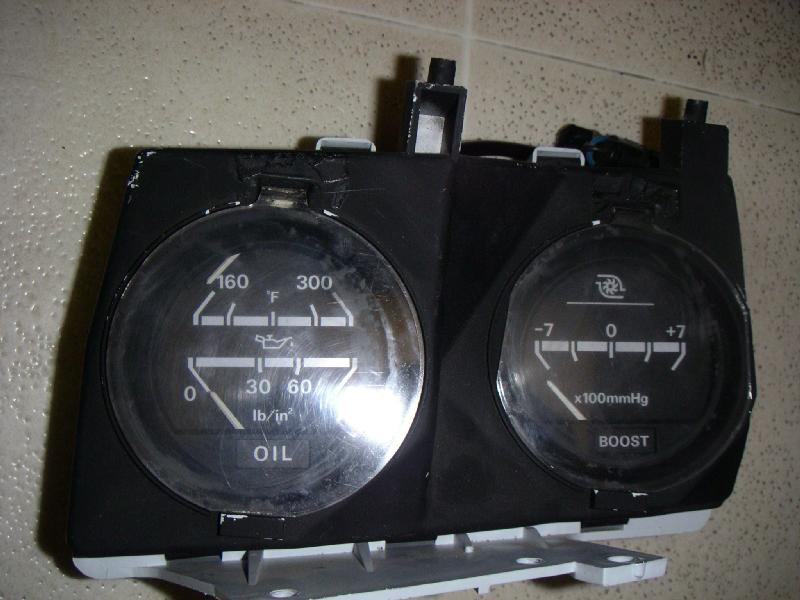
Then I took it completely apart.
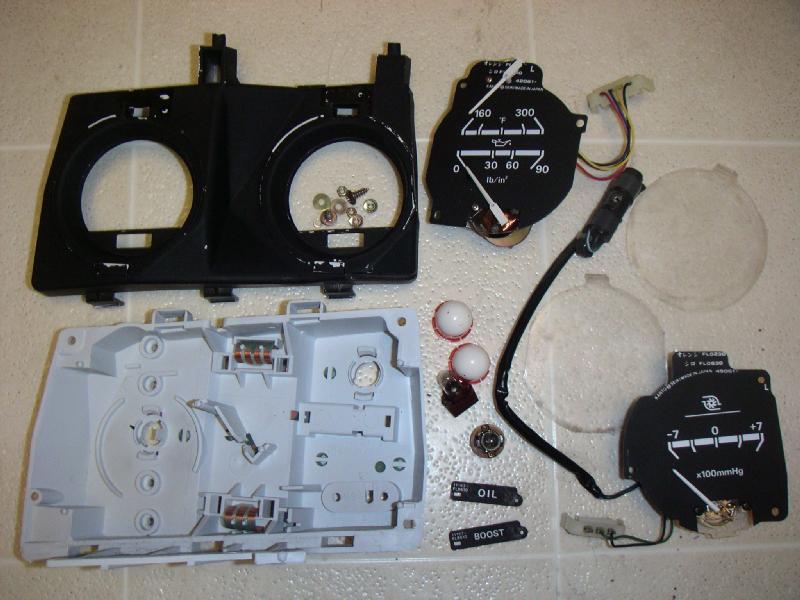
Then, I got together all the parts I'd need.
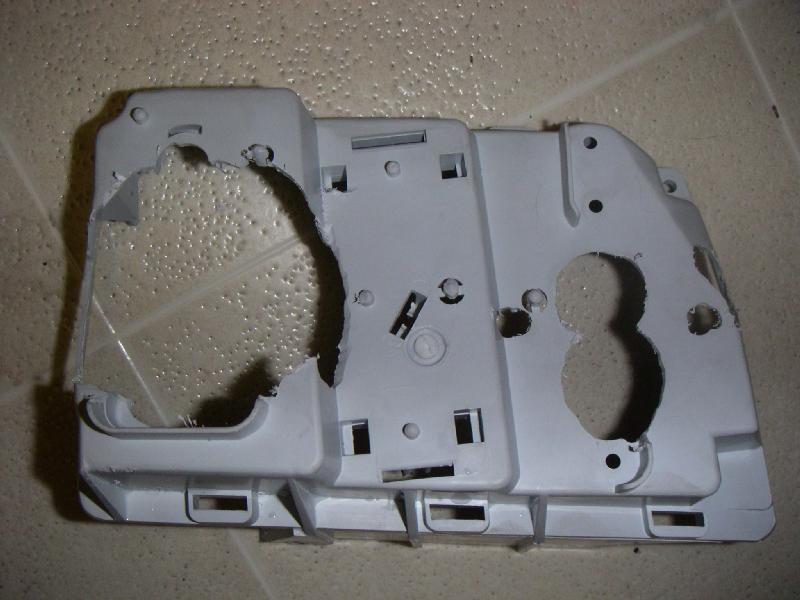
Then I trimmed all the excess material from the original gauge pod to allow the new gauges to fit inside the opening.

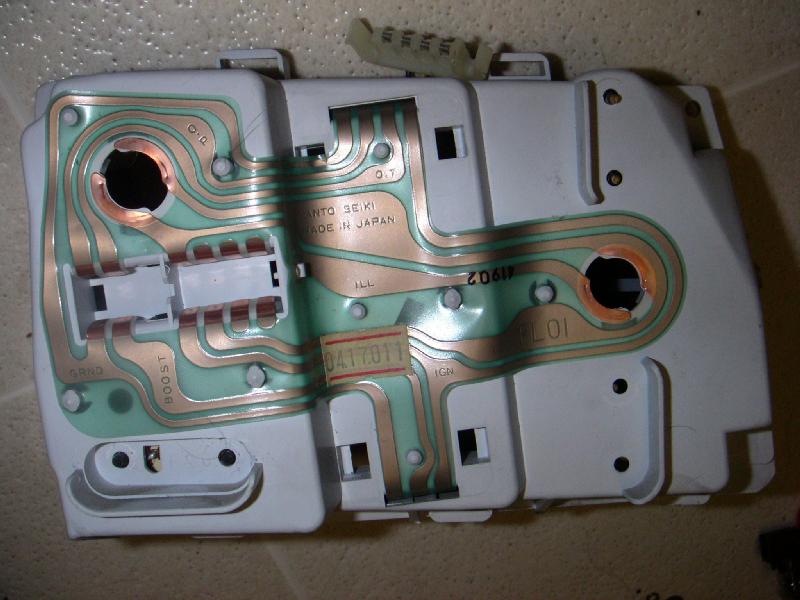
The original flexible printed circuit "board" is easily removed by ripping it off.
I used a Dremel tool to remove the excess material from the original housing backing.
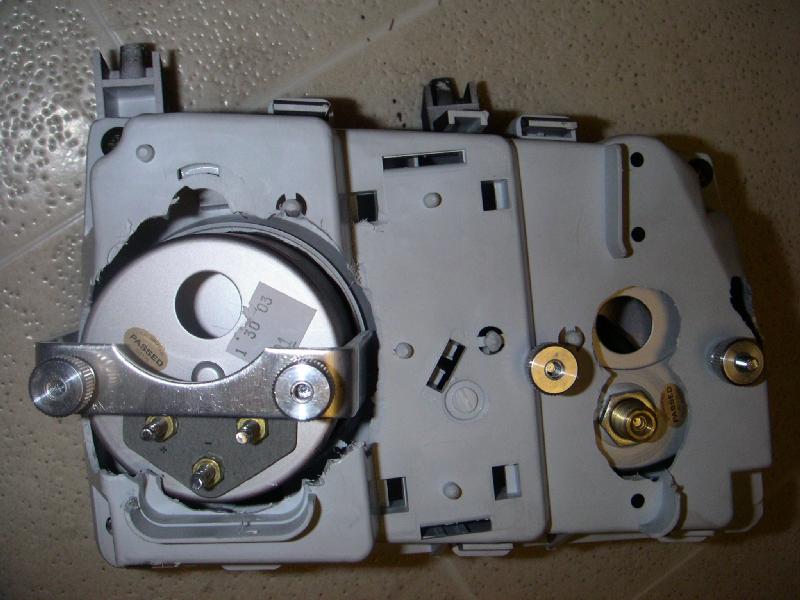
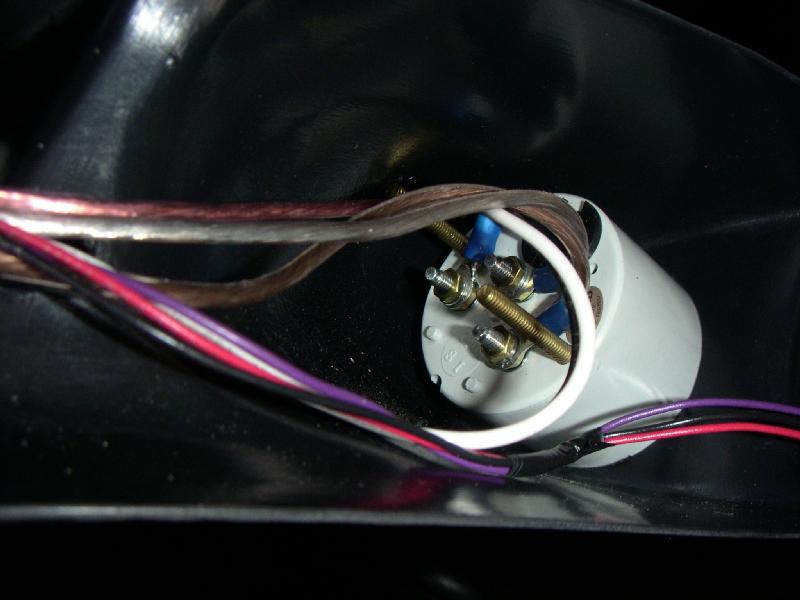
The new gauges were installed and secured.
Front view.
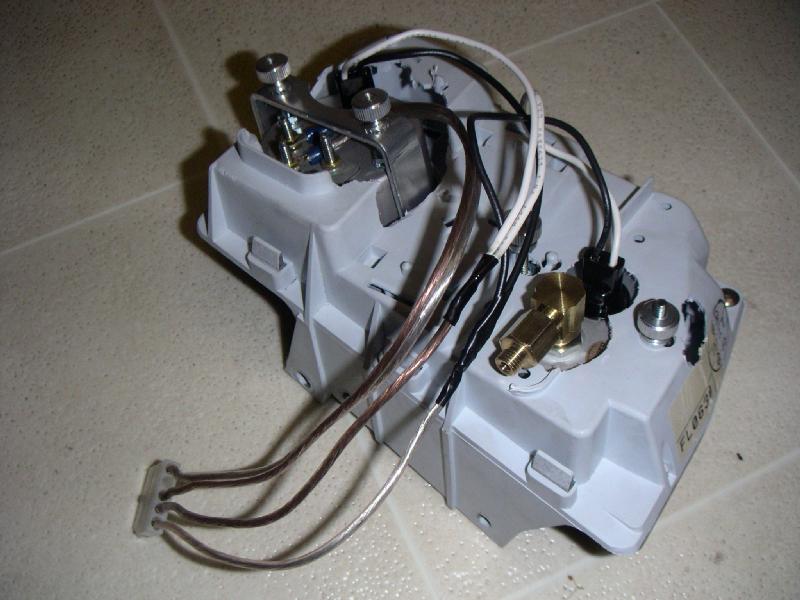
All wired up and ready to go.
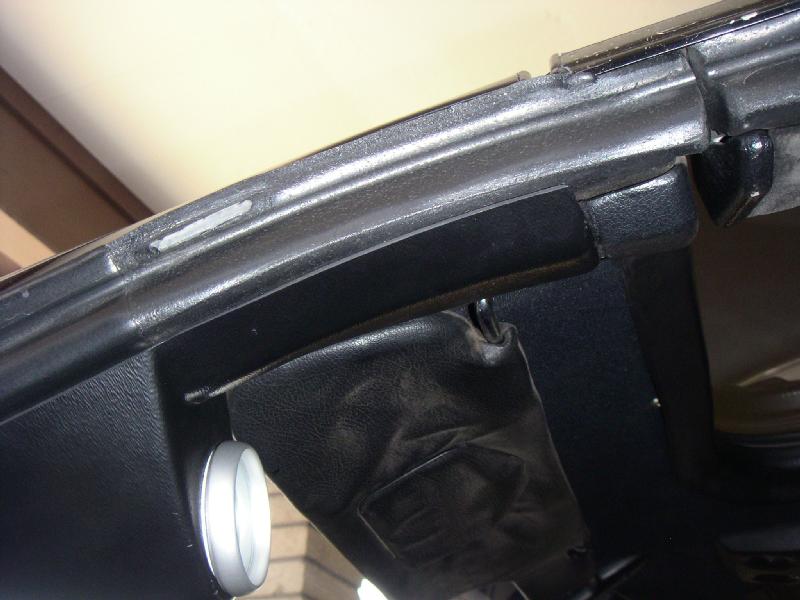
Installing into the dash. Careful not to bend or crease the boost line.
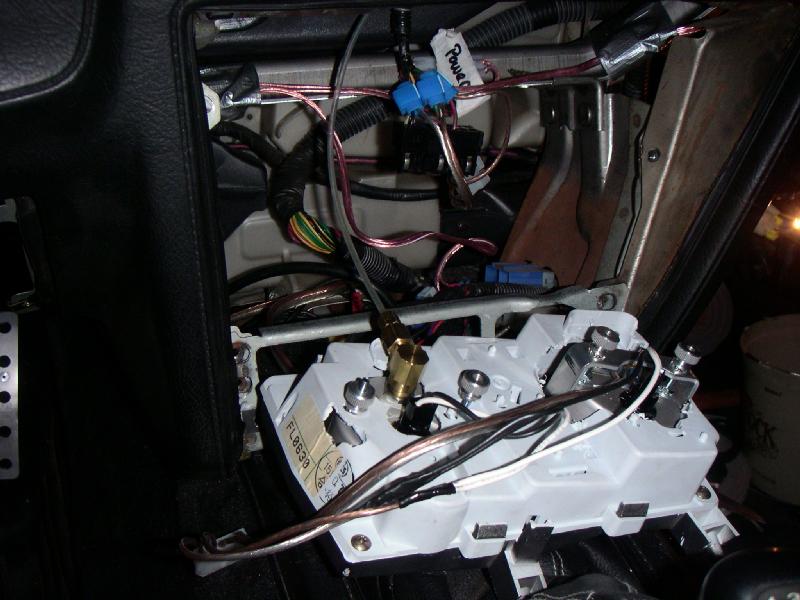
Keep boost line out of the way of anything that may come in contact with it and bend or crease it.
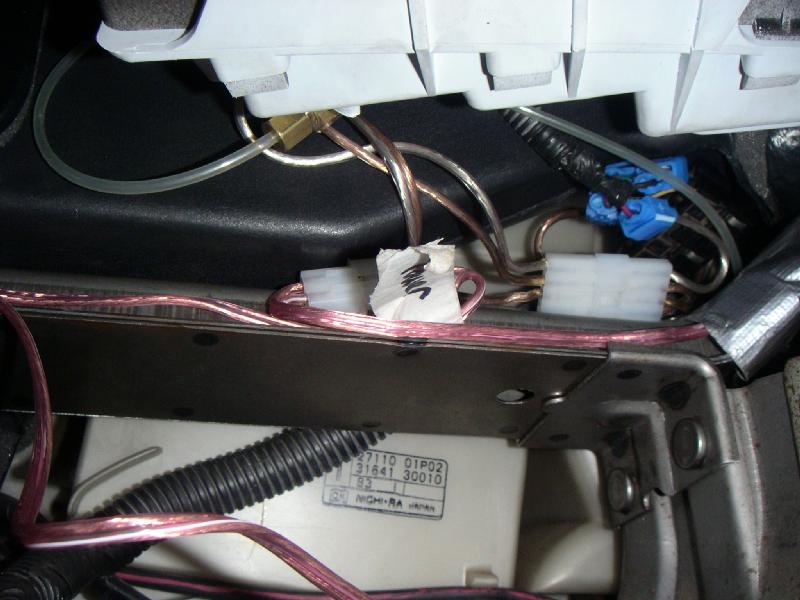
All tucked in and ready to rock.
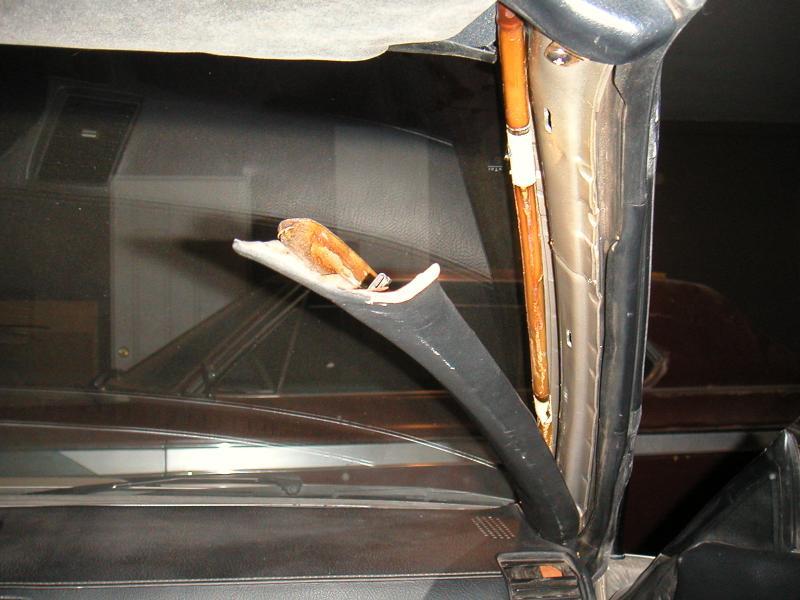
Installing the A-Pillar gauges.
Pull the original pillar piece off by grabbing and pulling towards the middle of the car.
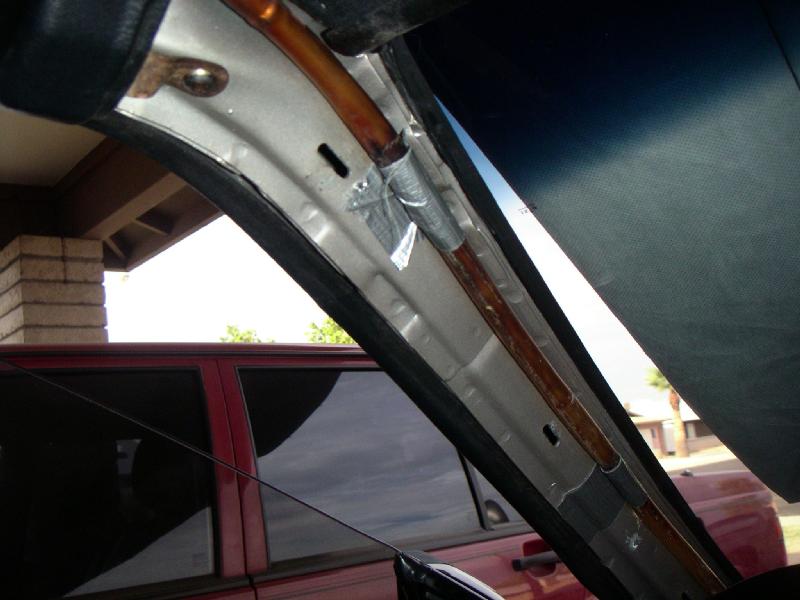
Test fit the new pillar pod and mark the installation holes.
Drill the holes for the mounting screws.
Connect and wire the new gauges.
Position the gauge pod and attach it to the A-Pillar.
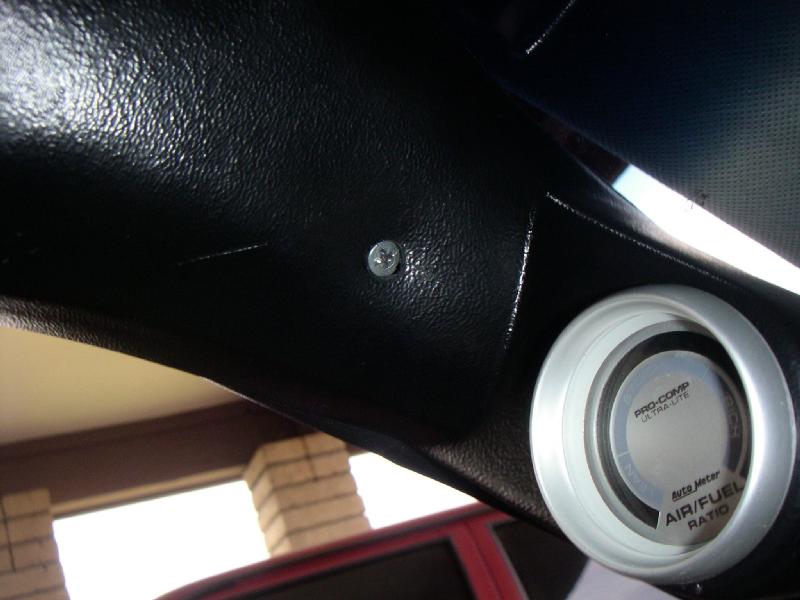
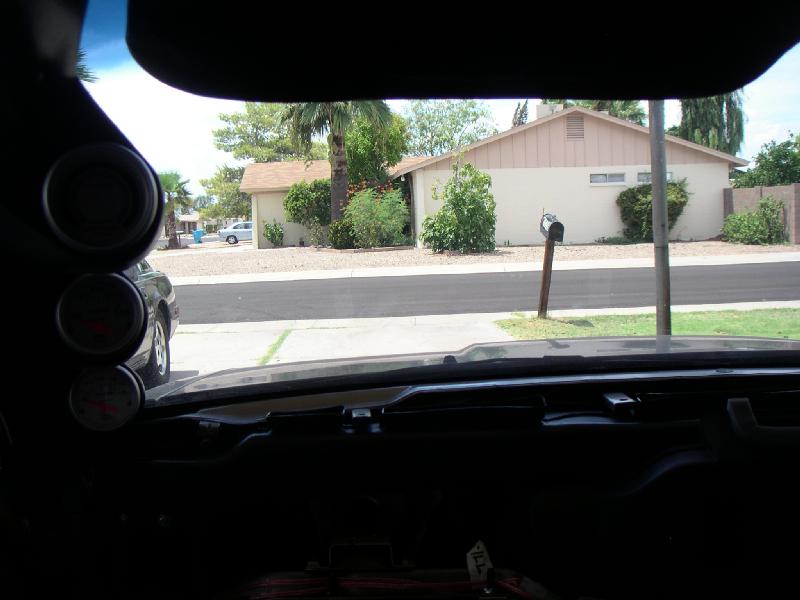
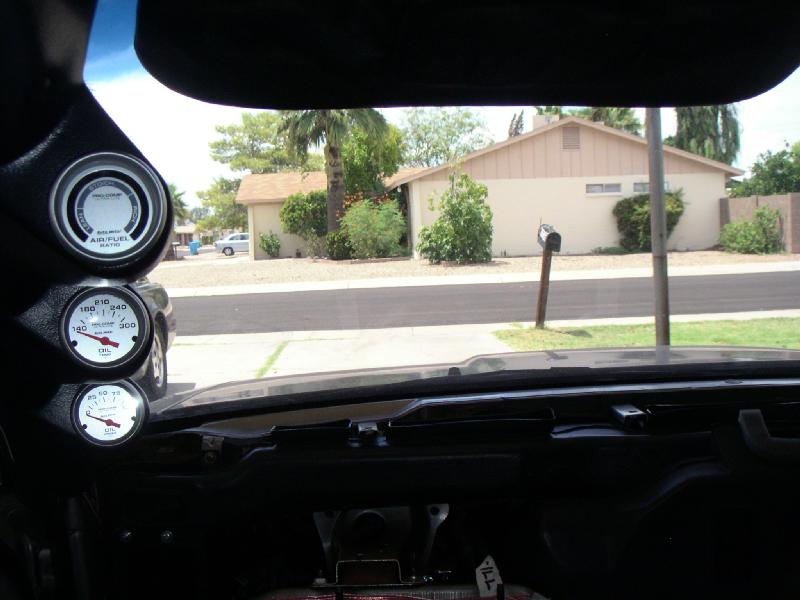
From the driver's seat, take a look at the gauges and set so they all face the direction you choose.
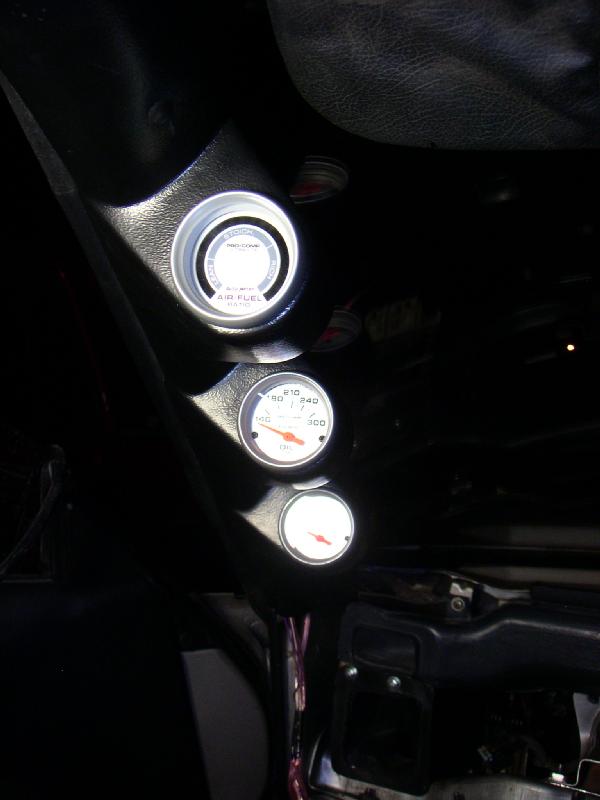
Note the section I will have to trim to make the gauge pod look correct.
View from the driver's seat.