MENU
In case you want to know
how I'm doing,
Deer Valley, Arizona
ZBUM's Reverse Glow Dash Install
Click any image to enlarge.
This is a page to help explain how I installed the reverse glow gauges in the 1984-1986 instrument cluster. Also note that at the same time, I did the digital to analog dash swap. Having the dash out of the car was very helpful, but certainly not a requirement. If you want something like this for your 87-89, tough luck. You aren't going to find it. The white overlays that used to be made are no longer available. And in order to get the 84-86 cluster in your car, you also need the dash harness and speedo cable at the very least.
To start off, I got the silver reverse glow gauge overlay from e-bay several months ago. At the time, there were two companies selling them on e-bay for about $30, and their sites were selling them for $55 or so. At this time, I only know of procarparts.com and makotoautotrends.com that sell these overlays. Both vendors obviously bought the overlays from the same source as both companies advertised these overlays as made for the 86-88 300ZX non-turbos. If you know anything at all about the instrument clusters, you know that the gauges are for either the 84-86 or the 87-89. You'd also know that since it is only for the main cluster, it doesn't matter what engine the car has. As it turns out, the overlays are actually for the 1984 to 1986 300ZX analog dash, turbo or not.
Installing the indiglo overlay.
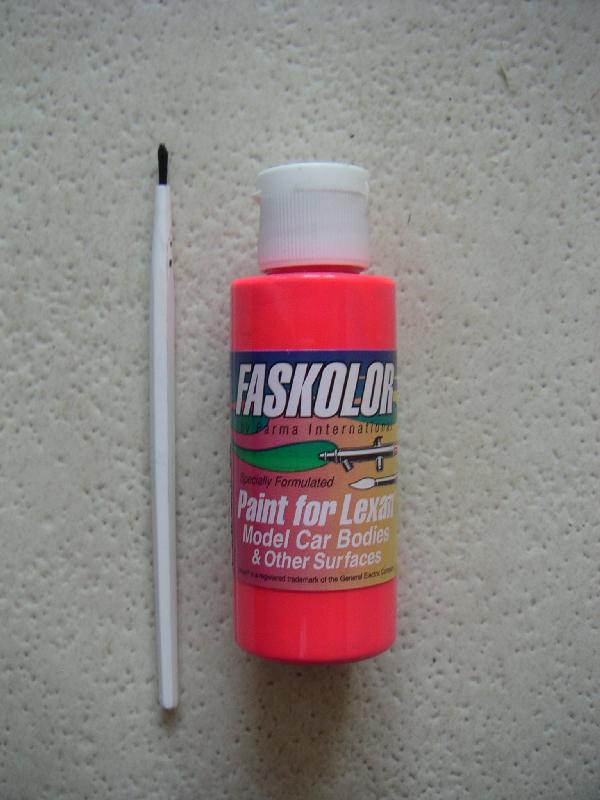
This is what you get from the vendor.
Note that there are no instructions.
That's no big deal as there are only two wires you have to worry about.

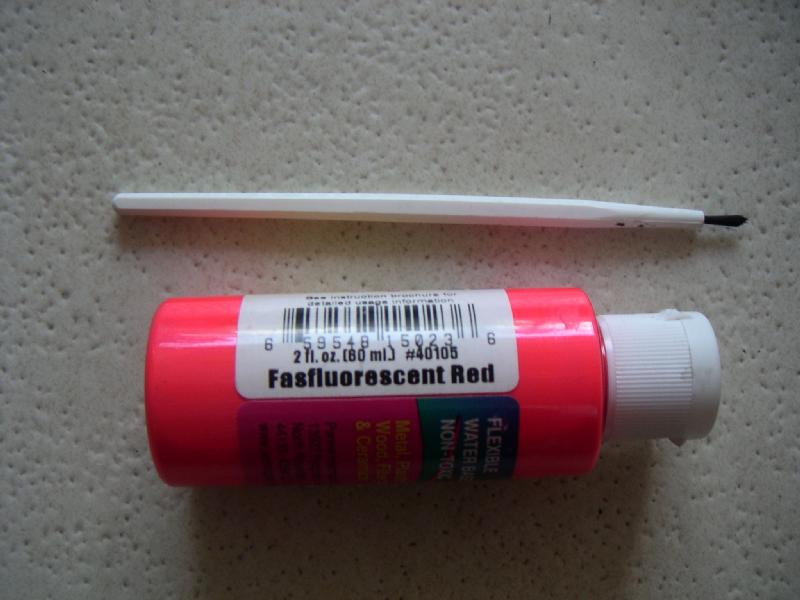
In order to really bring out the needles, I also decided to paint them florescent red.
I also didn't like how much silver there was.
I layed masking tape on the overlay and cut out the sections I wanted to paint black.
I used Plasti-Cote's Gloss Black Bumper and Trim Paint.
The bumper and trim paint offered the flexibility I needed to bend the overlay to get it on the gauges without breaking the needles.
The tach and speedometer needles come off their mounts fairly easily.
I would advise against removing the fuel and temp needles.
They don't have a way to keep them calibrated.
It is possible to slip the overlay over them when they are moved and the overlay is warped to fit.
Once you're done contorting the overlay onto the cluster, put the tach and speedo needles back on.
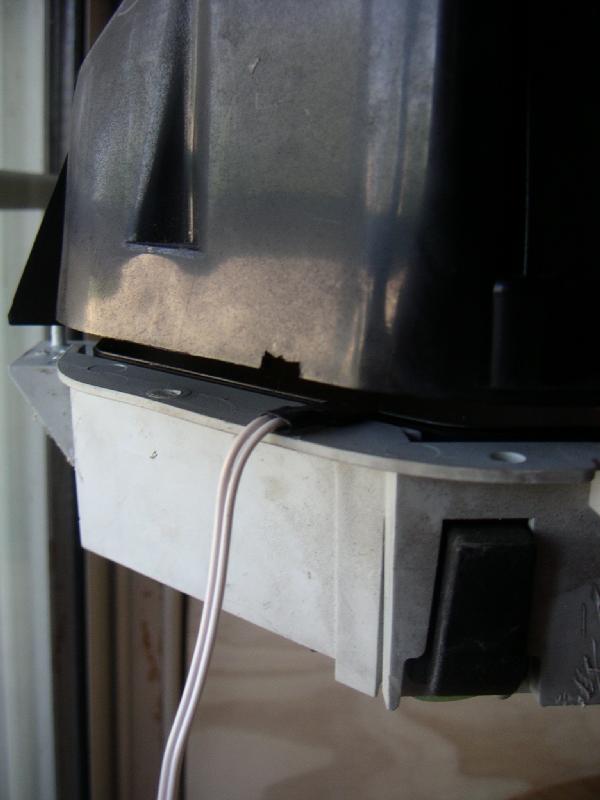
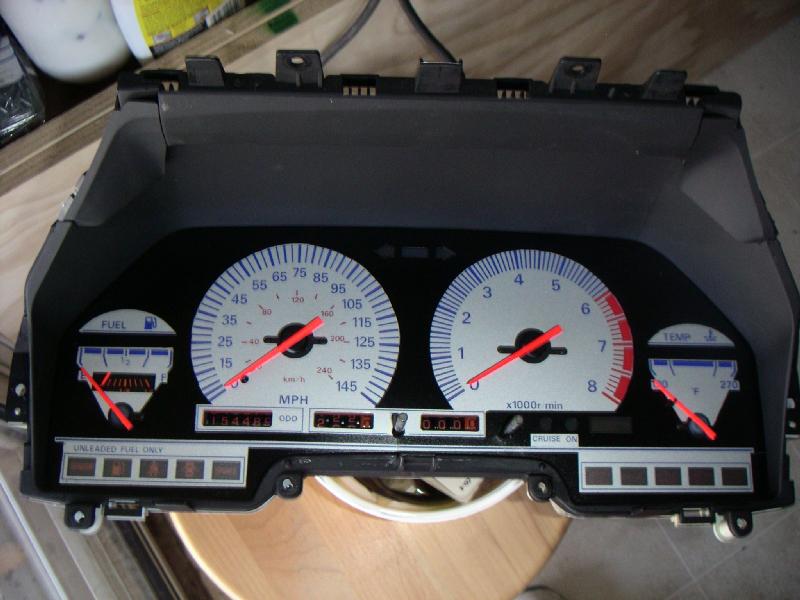
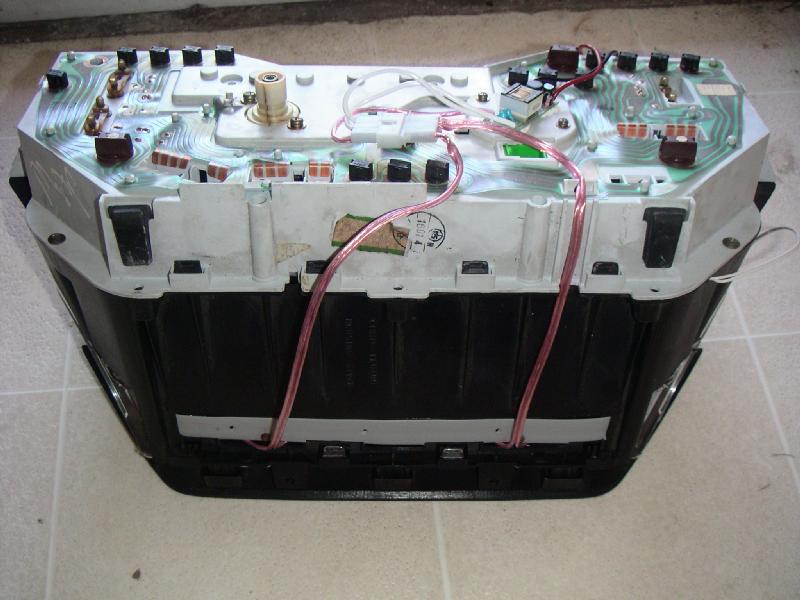
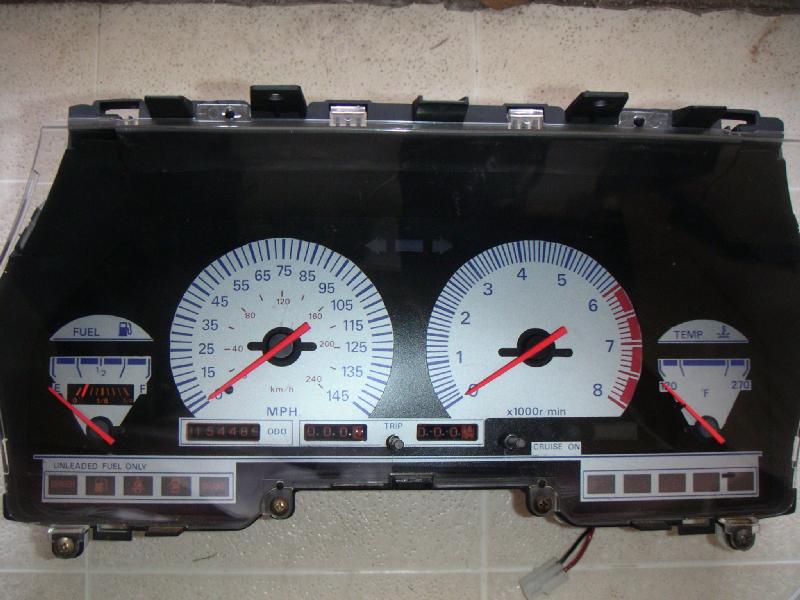
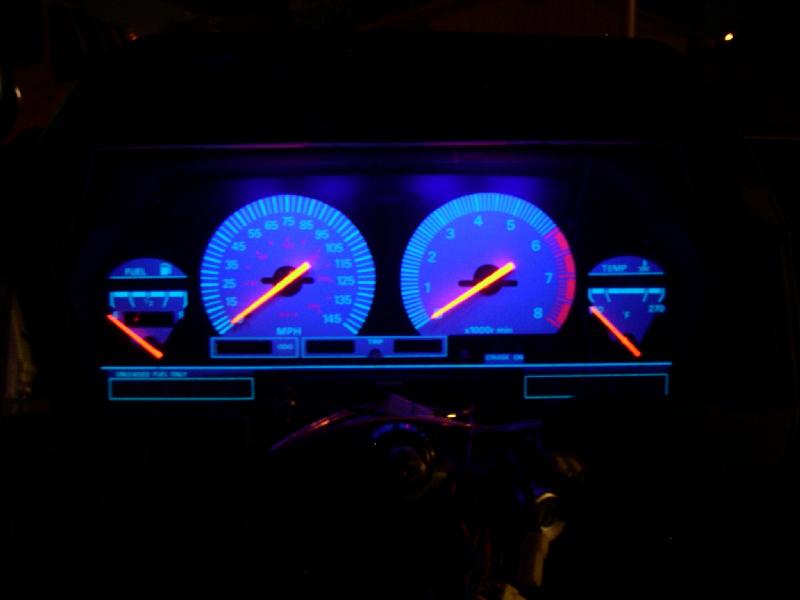
This is the result.
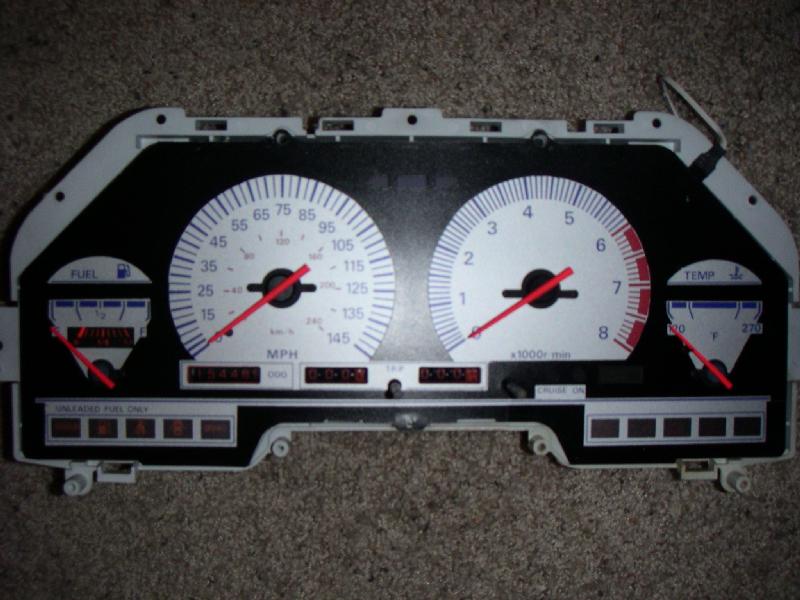
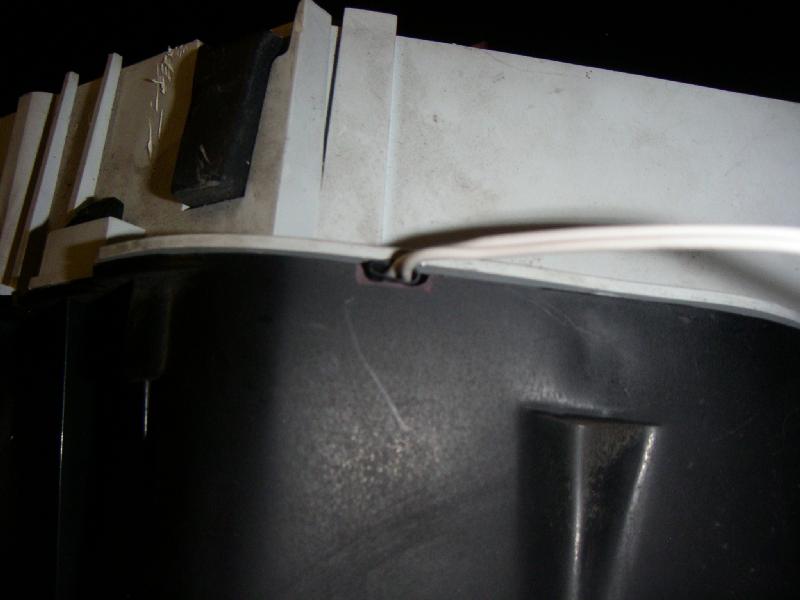
Note the wires coming off the cluster in the top right corner.
While they did a good job of making the overlay very thin, the wires ended up getting thick a little early.
This is no big deal as all you do is trim a slight bit out of the original back trim piece.
Please note that the installation of the UV lights is totally optional.
David84AET has them in his 88SS with the now NLA white overlays and I thought it looked cool.
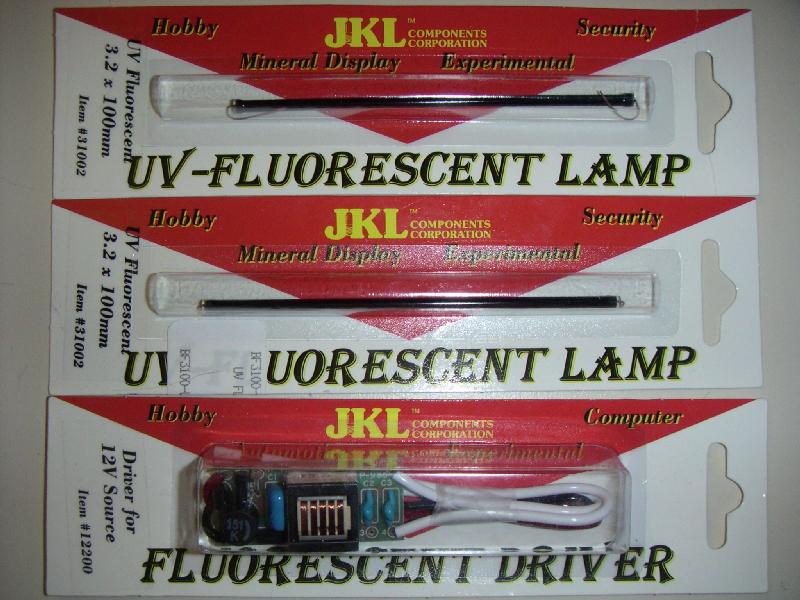
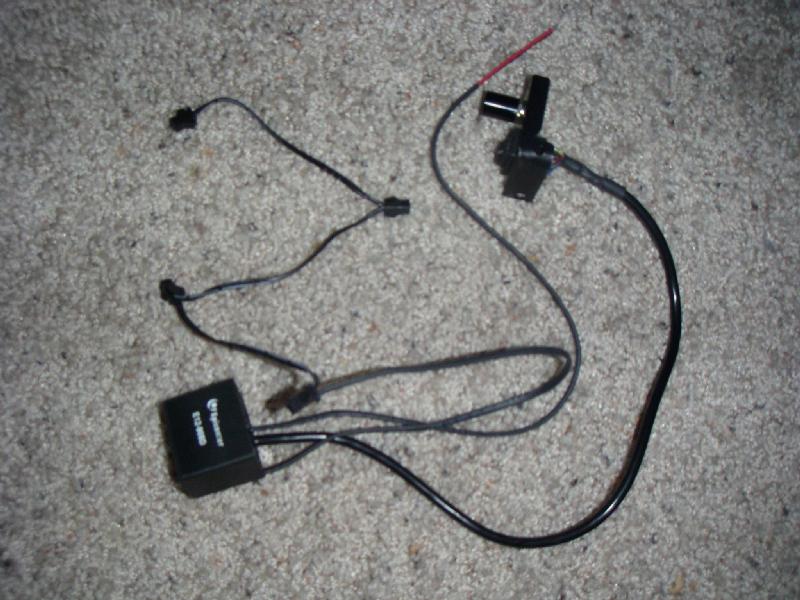
In order to really bring out the needles at night, I opted to install mini UV lights to make the needles really glow.
I bought these at Fry's Electronics.
The lights were $9.99 each.
The driver supports two lights and was $7.99.
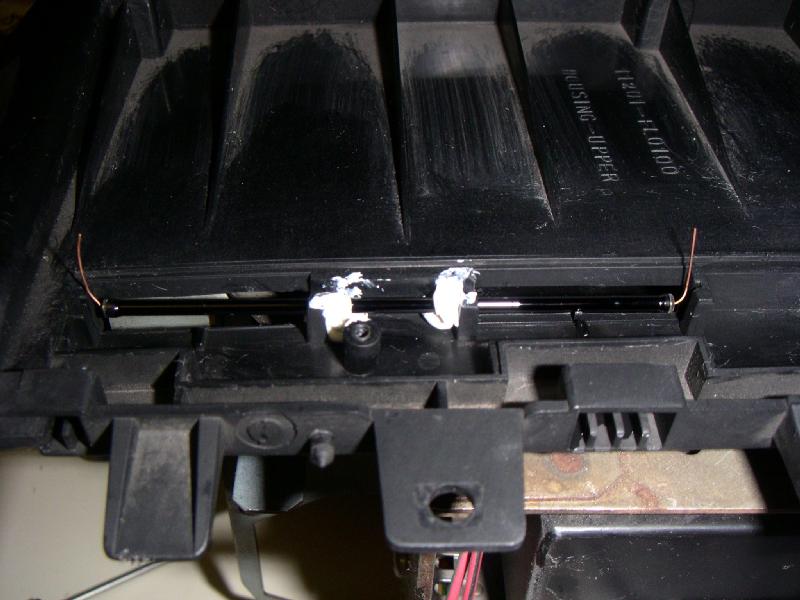
In order to take full advantage of these lights, you really need to remove the original lights.
Simply take the rear trim piece and remove the original light assembly.
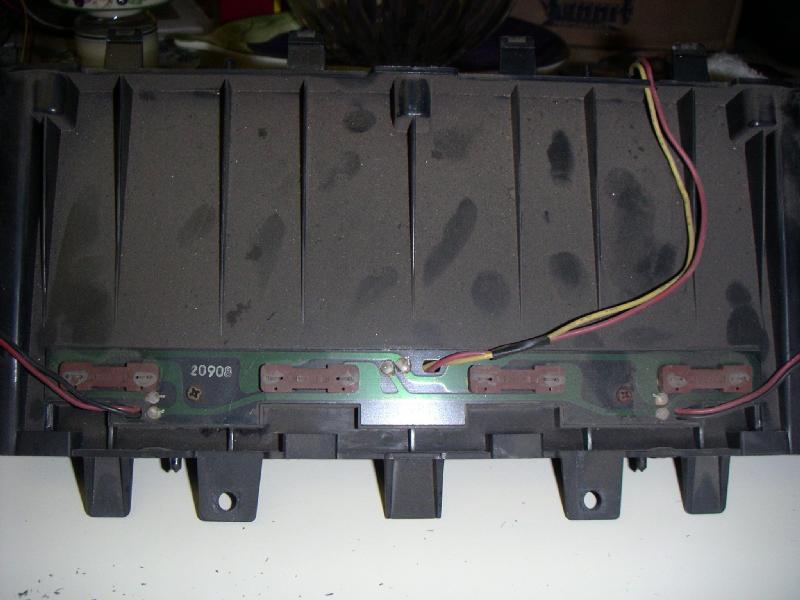

When you remove the main light rack, you'll notice 4 light diffusers.
Simply turn the trim upsidedown and they should fall out.
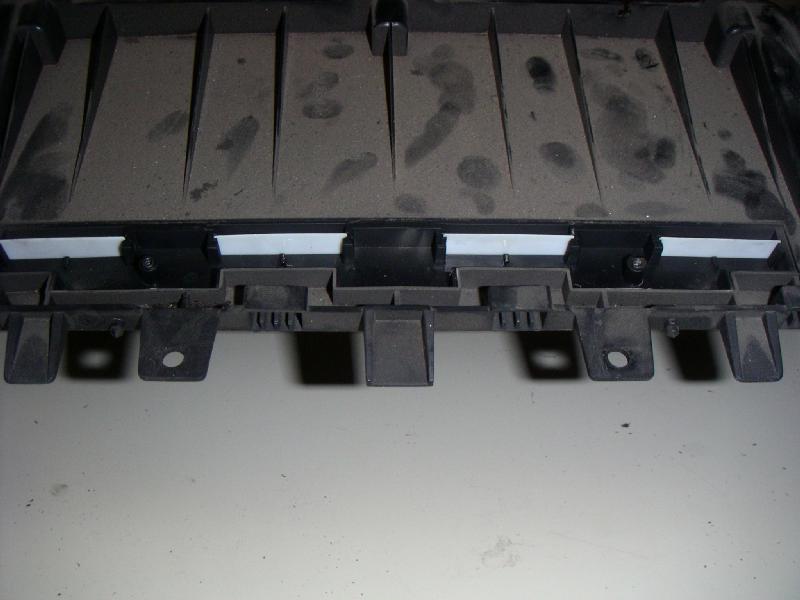
I chose to use these brackets to hold the new UV lights in their place.
Using a Dremel, I cut out the slots to give the mini bulbs a place to rest.
Once they were fit into place, I used tub and tile caulk to secure the bulbs in place.
This allows for ease of removal should a bulb burn out or break.
Solder wires to the bulb's leads.
Be careful not to damage the bulbs or the trim piece in the process.
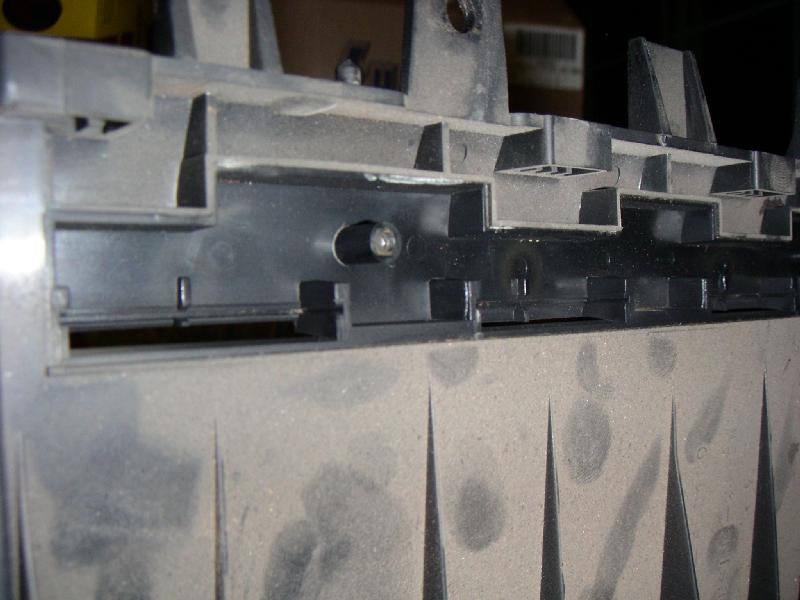
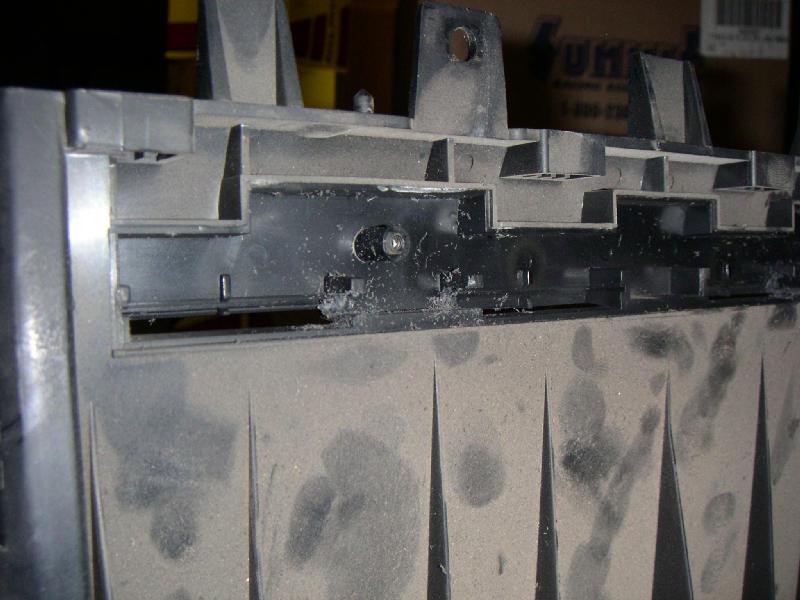
Then take a piece of plastic and trim to fit.
I used a plastic strip that I picked up at Home Depot.
It's normally used to hold pipes in place, but it works perfectly once you straighten it out and trim the excess away.
Use the original screws to hold it in place.
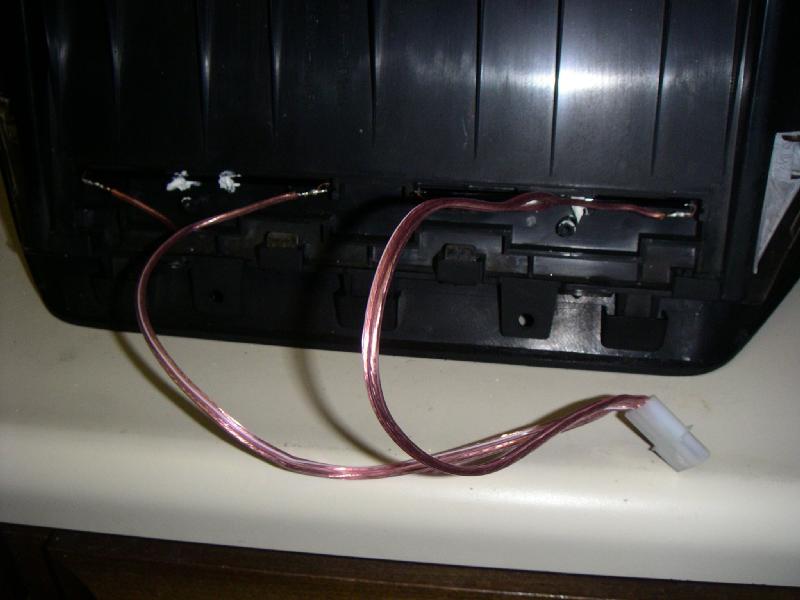
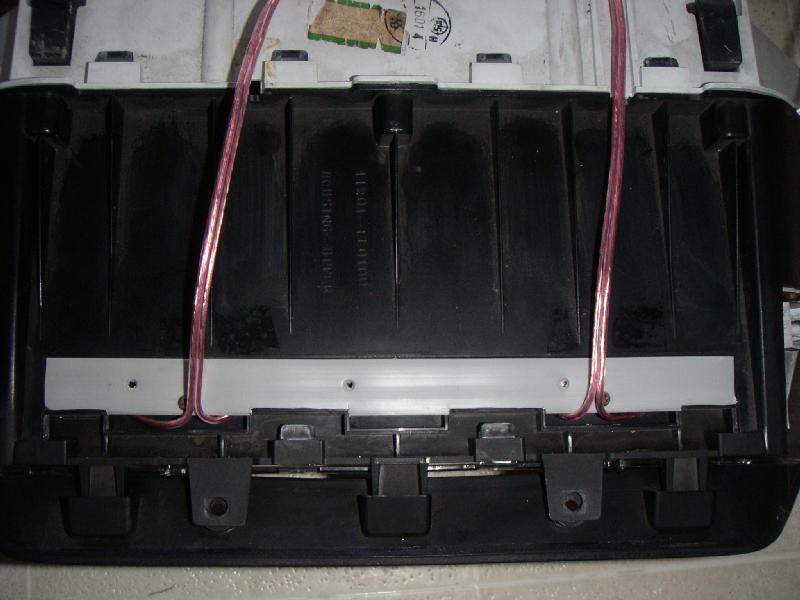
I used MOLEX connectors to make installation and maybe future removal/replacement easy.
You can direct wire anything you want.
I found a nice flat part on the back of the instrument cluster and using that same plastic stuff, attached the bulb driver using the clusters original screws.
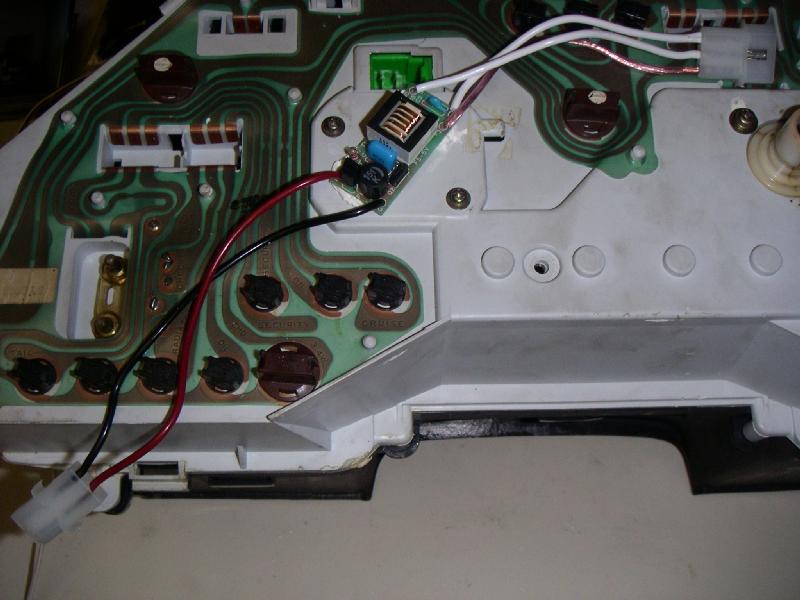

Turn it over. You're now done with the main instrument cluster.
Installing the illumination controls
Now comes another fun part. It's time to install the illumination control system.
This actually isn't all that bad if you're good with a dremel.
And much easier if the dash is not in the car.
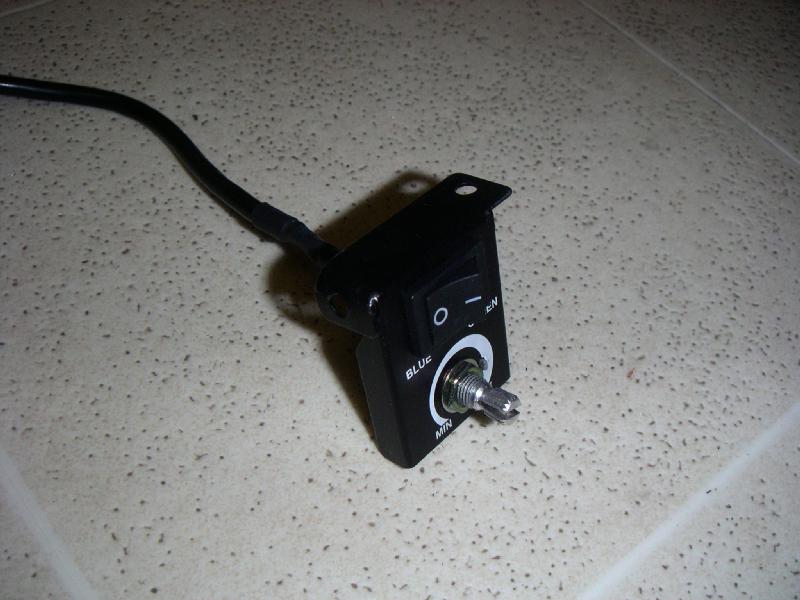
First, take a good look at the illumination control and decide where and how you want to mount it.
I didn't want this huge thing sticking out anywhere for me to kick accidently.
And I didn't want to put it out of the way so that I wouldn't be able to easily adjust it.
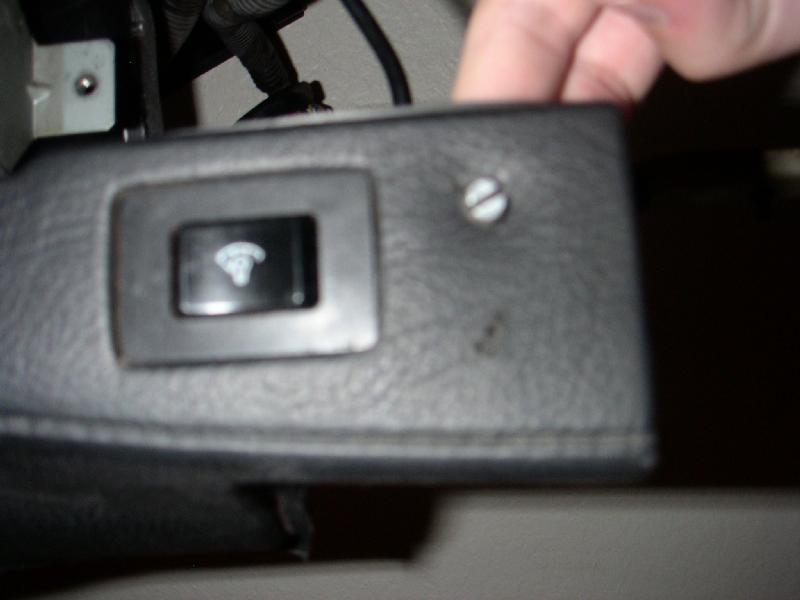
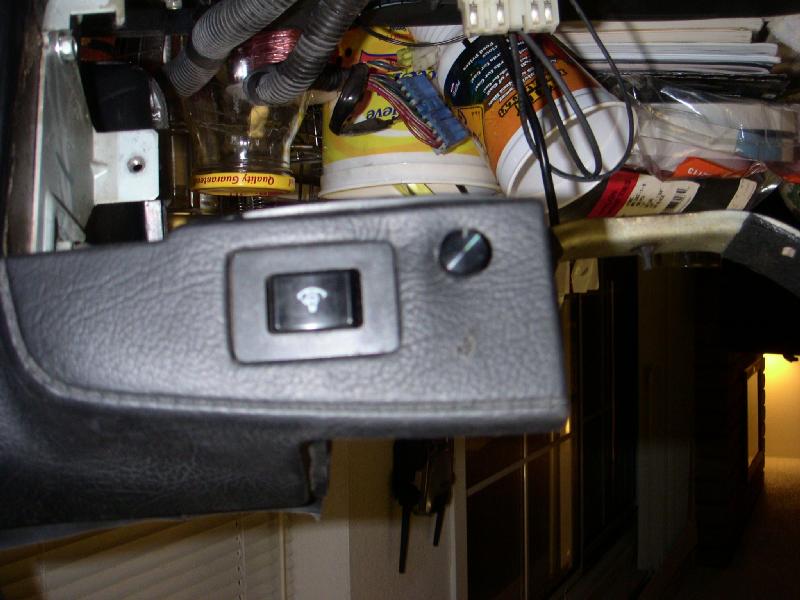
I really liked where the illumination control was mounted, and the dash right next to it looked big enough, so I test fit it.
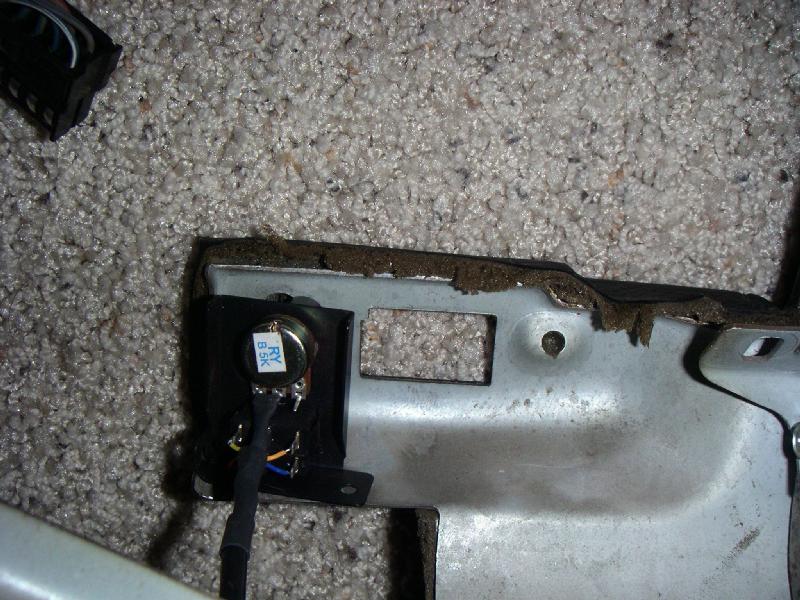
To start off, I drilled a pilot hole to get a good idea of where the actual adjustment knob would fit.
Note that I've opted to mount the switch upsidedown.
It really doesn't matter as the line on the knob is completely adjustable, and the switch will be hidden anyway.
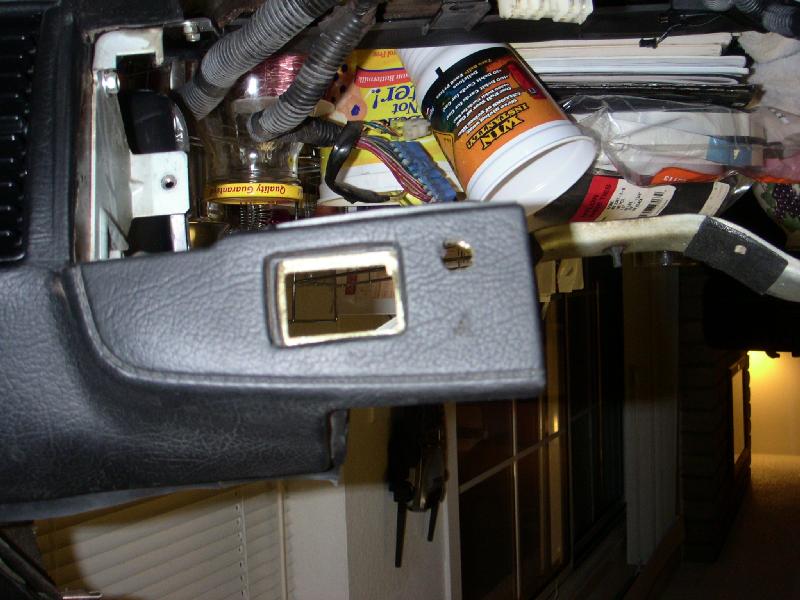
After test fitting, I made the hole in the dash pad larger for the actual knob.
I also cut a rectangular slot for the switch to slide into.
By removing a little of the padding from the back of the dash pad in the area above the switch, it's very simple to activate this hidden switch to change the lighting from a greenish blue to full blue.
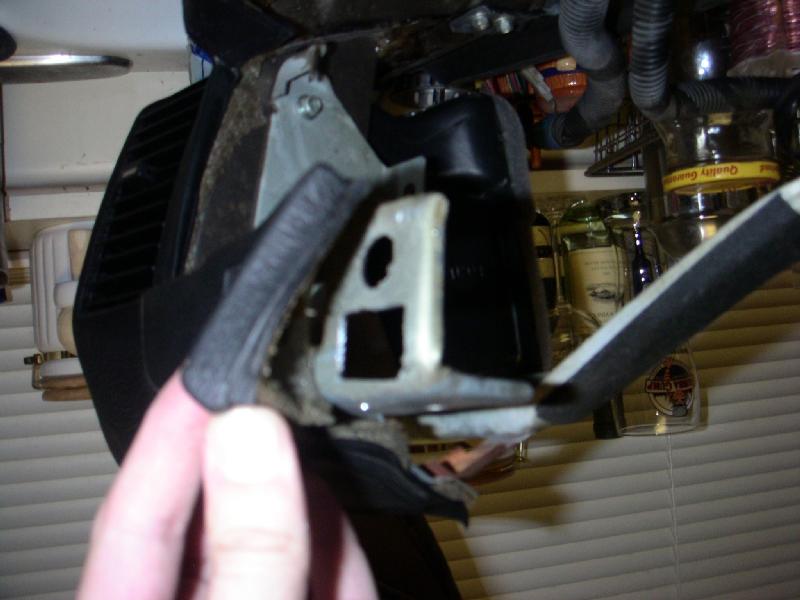
Note how the dash is slightly bent up in the previous picture.
In order for me to fit the switch next to the original illumination switch, I had to bend the one side of the supplied switch up.
I could have also cut it off.
This does mean that you will have to make a hole in the face of the switch so you have two solid mounting points.
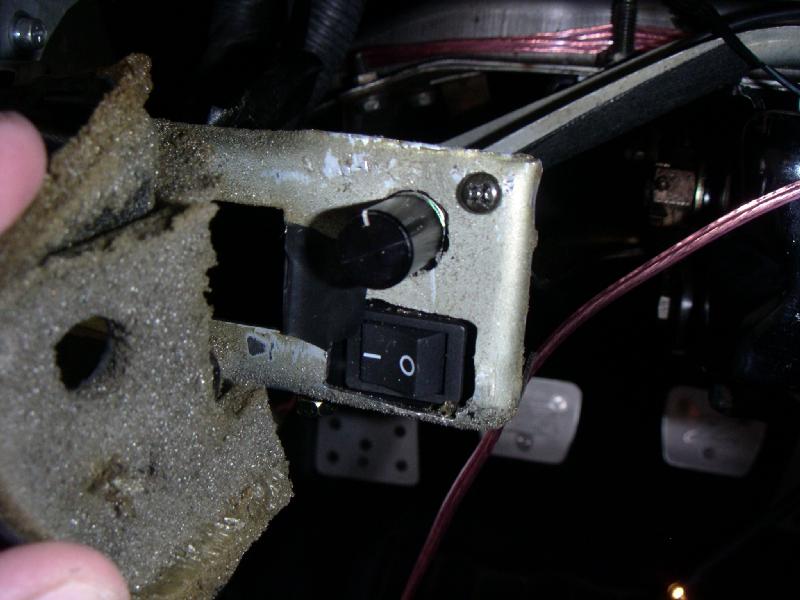
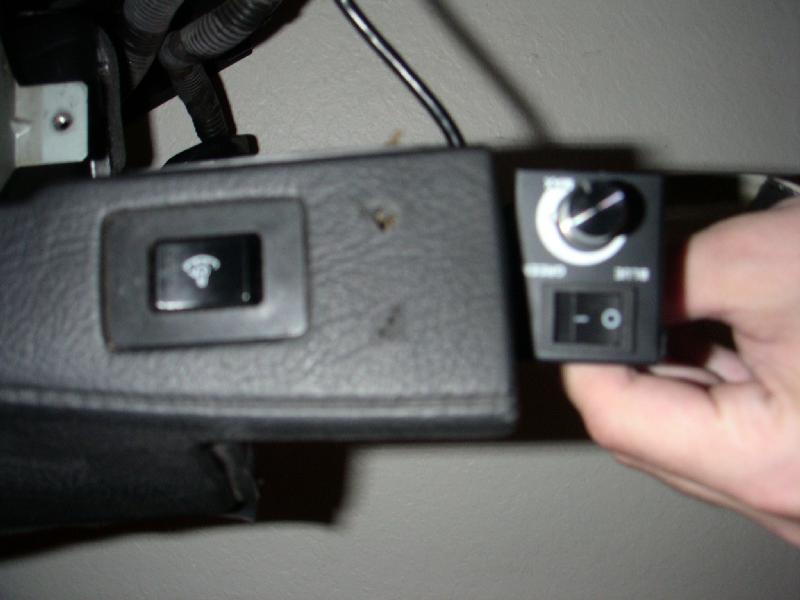
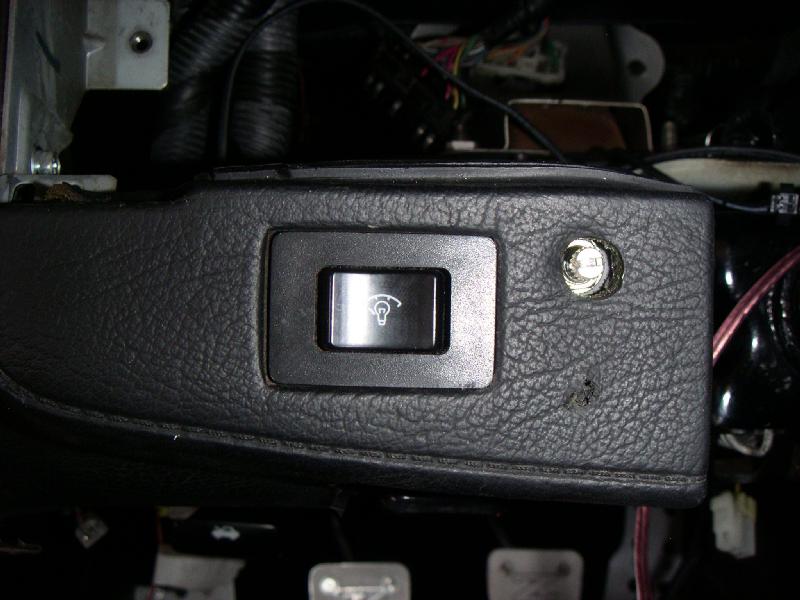
This is what the dash looks like with the stock switch and the new intensity control knob.
Note that you can't see the color switch.
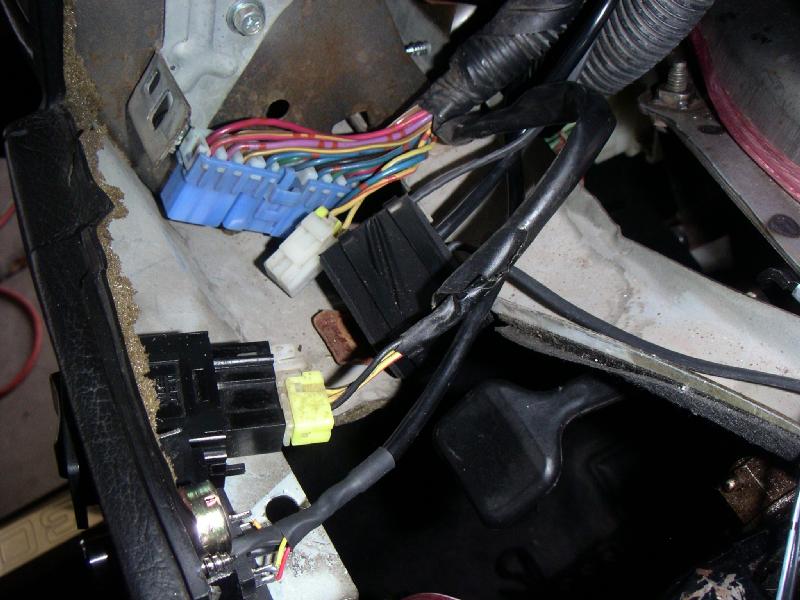
Now all you have to do is hook up the wires and you're done.
I connected the ground wires to the chassis ground.
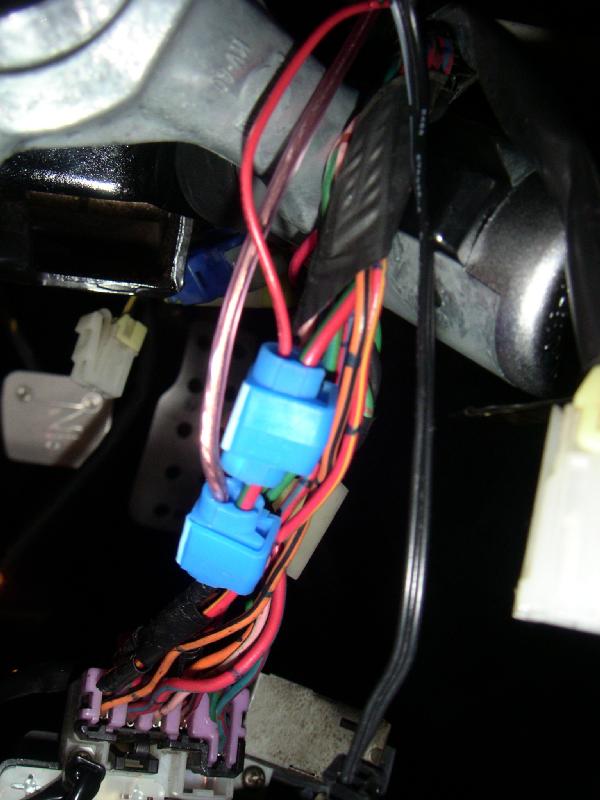
Then I connected the positive leads to the running lights wire.
This is the red wire with a green stripe coming out of the head light steering column switch.
This way, whenever the running lights are on, all the dash lights are on as well as the reverse glow gauges and UV lights.
Simply push the dash padding back down and install the switch. Then push the knob on in the desired orientation and you're done.
Re-Installing and testing the completed instrument cluster.
Installing the cluster back into the car.
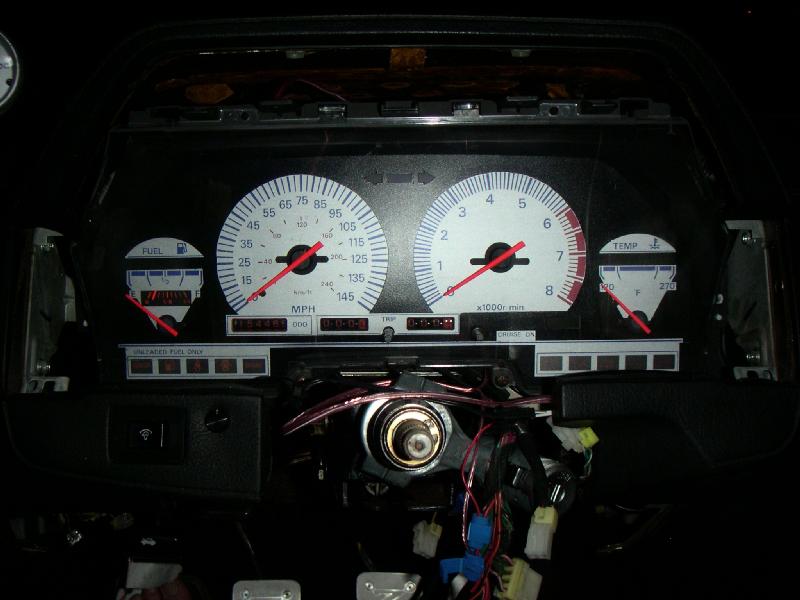
Testing the indiglow overlay and the UV lights.
Animated GIF showing with and without flash.